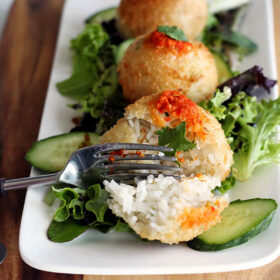
These Asian fried rice balls are deliciously infused with aromatics and lightly breaded, creating a tasty, crispy, meal or appetizer. They are incredibly easy to make and perfectly balanced to complement a plant-based diet!
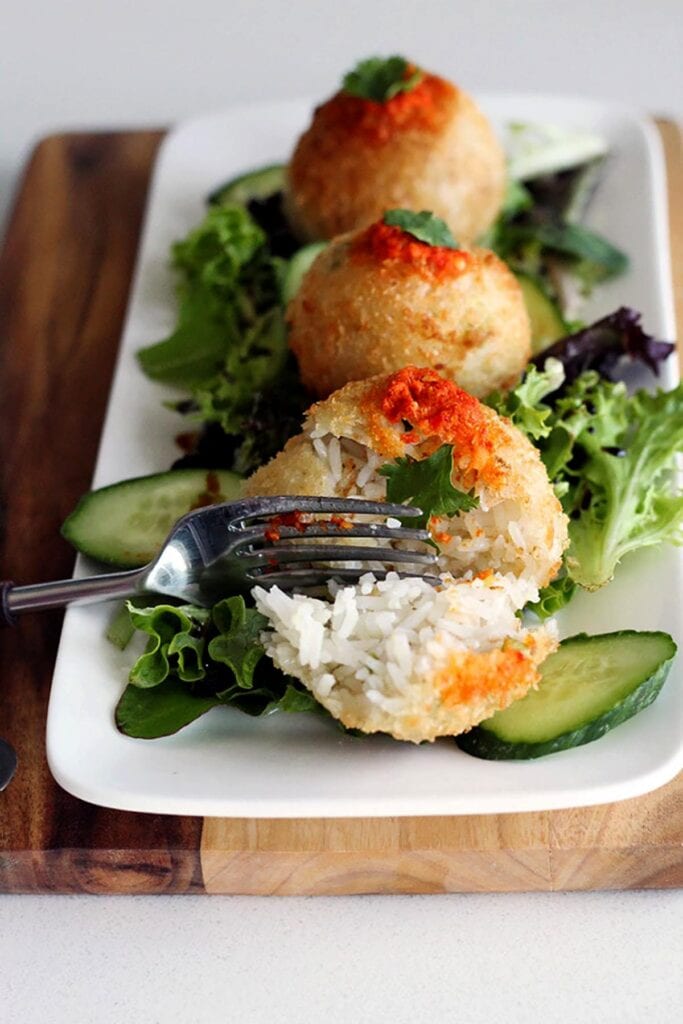
Why you’ll love this recipe
- Tasty variety. Asian rice balls, similar to onigiri or zongzi, can be customized to your heart’s content! I love the simple elegance of aromatic jasmine rice, but these serve as a perfect base for any of your favorite mix-ins!
- Easy to eat anywhere. These are a hassle-free, grab-and-go snack or light meal. Their handheld design makes them perfect for busy days, picnics, or a quick and satisfying bite!
- Cultural delight. Making rice balls is a simple way to experience the rich flavors and traditions of Southeast Asian cuisine.
Ingredients needed
For the rice balls:
- Jasmine rice. The core ingredient, providing the necessary texture and base for the balls. Its fragrant and slightly sticky nature helps in shaping and holding things together. This recipe also works with short-grain rice.
- Vegetable stock cube. Adds depth to the rice, infusing it with a savory taste.
- Ginger, garlic, shallots. These essential aromatics infuse the rice during the cooking process, providing the perfect flavor!
- Sugar. Just a touch, balances the savory elements in the filling.
- Sesame Oil. Helps form the paste that the rice is cooked in, adding a distinct nutty flavor to the filling.
- Salt & white pepper. To taste.
- Flour, Panko bread brumbs: Used to form the lightly crispy breading that coats each rice ball.
- Ground flaxseed & water. Acts as a binding agent for the breading when dredging the balls without the need for eggs.
For the chili topping:
FREE EBOOK SERIES! 5 SECRETS FOR FOOLPROOF VEGAN DESERTS
- Dried chili, red chili, Bird’s eye chili (or Thai chili). Forms the base of this fiery chili that spices up these rice balls.
- Salt & sugar. To taste
- Ginger, garlic, shallots. Helps build the rich savory flavor of the chili.
- Lime juice. Provides moisture and hint of citrus to the chili.
- Sesame oil. Adds a nutty element to the chili and helps maintain its moisture.
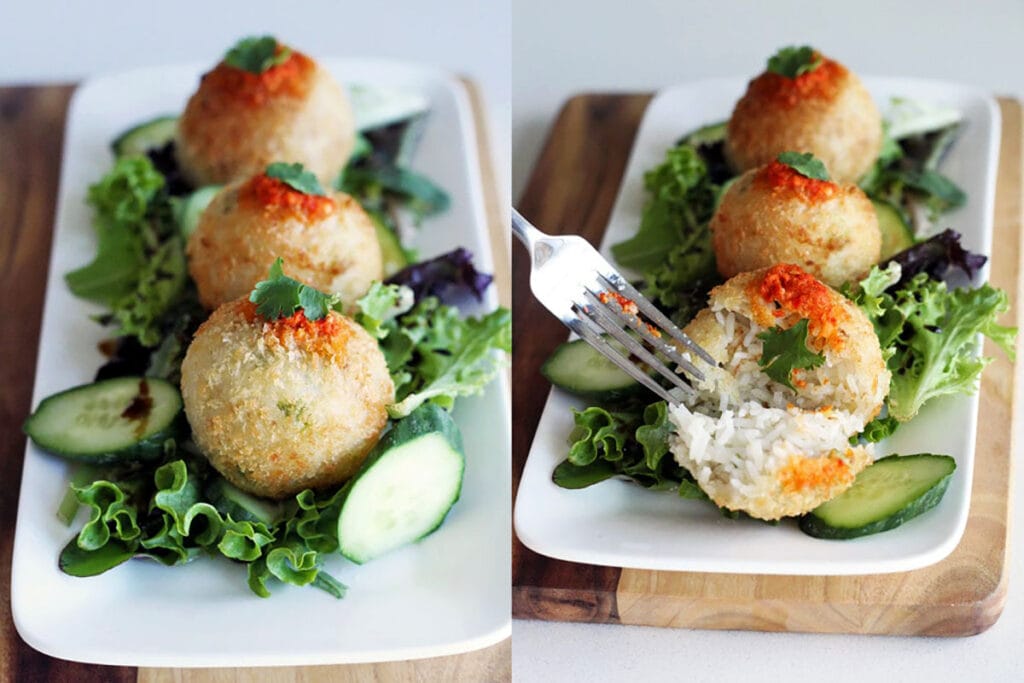
How to make fried rice balls
Step 1 – Make the cooking paste. Blend garlic, ginger, shallots, sugar, sesame oil and salt together till a smooth paste forms. Heat sesame oil in a deep pot and then fry your paste for a few minutes till fragrant.
Step 2 – Cook your rice. Add the rice into the pot and stir to coat with fried paste. Once rice is slightly translucent, pour water into the pot along with your vegetable stock cube. Stir, bring to a boil and then turn down to a simmer. Cover the pot and cook for 15 minutes then turn the heat off and leave the pot covered for a further 10 minutes.
Step 3 – Form the rice balls. Spoon about 2 tablespoons of rice onto a piece of cling wrap. Wrap it up and squeeze it into a ball with your hands. You want to compress the rice well so that it doesn’t fall apart later. Repeat with remaining rice. I made 8 medium sized rice balls from the this quantity of rice. Set the balls aside to cool. I like to place mind in the fridge for 10-15 minutes help them remain firm.
Step 4 – Dredge and pan-fry the balls. Combine flour with salt in one bowl. Place the Panko crumbs in another bowl and then, in yet another bowl, combine ground flaxseed, water, salt and white pepper. Whisk to combine and let sit for 5 minutes to thicken.
Heat oil in a pot. Dredge rice balls in flour, then coat in flax gel, and finally coat with Panko. Fry balls till they are golden all around. I rolled them around in a very shallow layer of oil instead of deep frying them. Once golden, drain on paper towels.
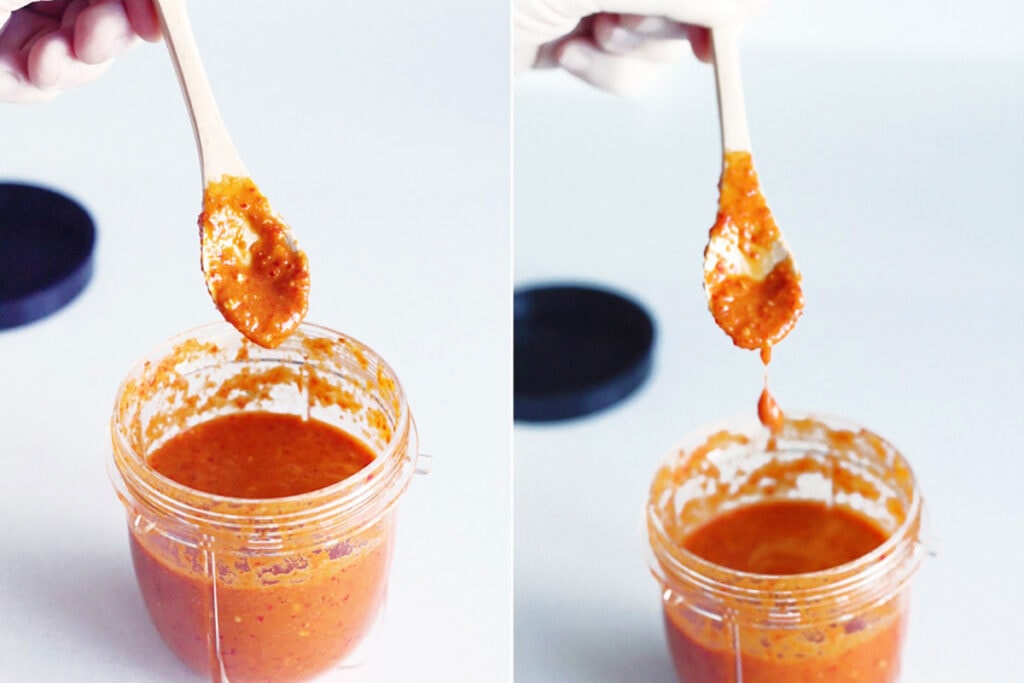
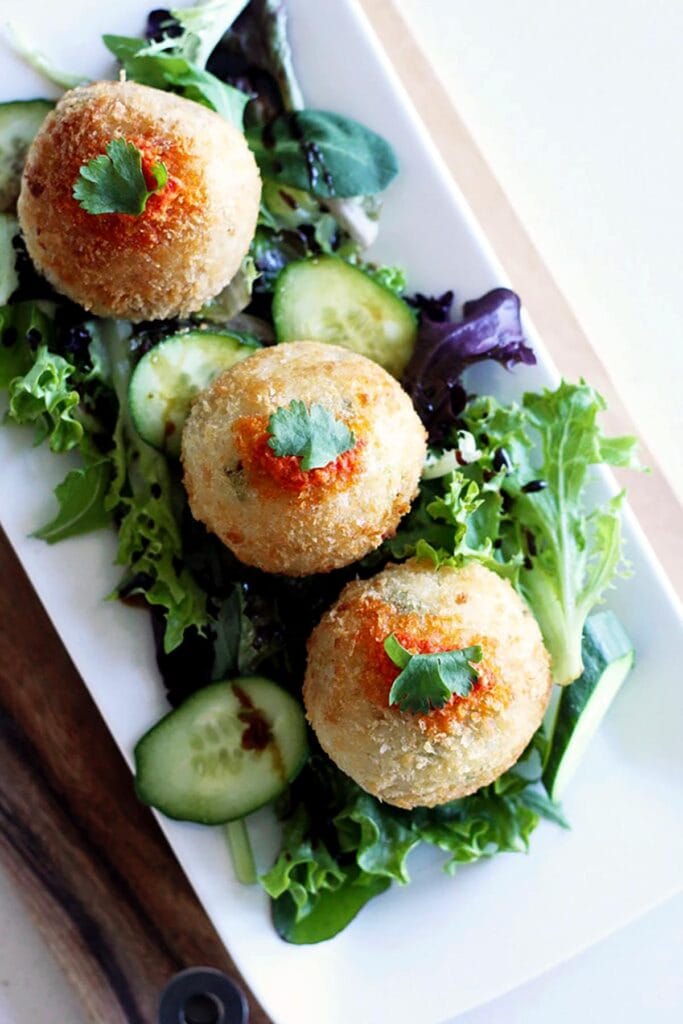
Step 5 – Prepare the chili topping & serve on leafy salad. Blend all chili ingredients together in a Nutribullet or any blender you have. Top each rice ball with a little chili mixture and serve on a leafy green salad. I also like to drizzle my salad with a little sesame oil or even some thick dark sweet soy before placing rice balls on top.
Tips to make the best recipe
- Refrigerate before frying. Once you have wrapped your balls, place them in the fridge for 10 minutes to help them stay nice and firm during the dredging and frying process.
- Keep an eye on your oil temperature. Fry the rice balls in oil that is at a consistent and medium-high heat. This ensures a quick and even cooking process, resulting in golden-brown, crispy exteriors.
- Experiment with mix-ins! There are a range of different additions you can include in your rice balls before breading any frying. Cooked and diced proteins like tofu or finely chopped or grated vegetables like carrots, bell peppers, peas or mushrooms can all be added for additional flavor and texture. You could even add some vegan cheese if you’re a fan of Italian rice balls like arancini.
Storage instructions
To store: Place any leftovers in an airtight container and refrigerate for up to 3 days. I love to reheat these in the air fryer to help rebuild their crispiness but you can also use an oven or a microwave.
To freeze: Fried rice balls can be frozen if you’re preparing them in advance or hoping to hold onto them for a while. Place them in air tight, freezer safe bags and store for up to 2 months in the freezer.
More Asian-inspired recipes to try
Frequently asked questions
To prevent sogginess, ensure that the rice balls are completely cooled before freezing.
Yes, you can adapt the recipe to be gluten-free by using gluten-free flour and breadcrumbs for coating. Ensure that other ingredients, like soy sauce, are also gluten-free if needed.
Can I bake instead of fry the rice balls for a healthier option?
Yes, you can bake rice balls for a healthier alternative. Preheat your oven, place the coated balls on a baking sheet, and bake until golden brown. While the texture may differ slightly, it’s a great option for those looking to reduce oil content.
Fried Rice Balls
Ingredients
For the rice balls
- 1 1/2 cups Jasmine rice
- 2 1/2 cups water for rice
- 1 vegetable stock cube
- 15 grams ginger
- 15 grams garlic
- 15 grams shallots
- 1/4 teaspoon sugar
- 1/2 teaspoon sesame oil
- 1 teaspoon salt
- 1/2 cup flour
- 1/2 teaspoon salt
- 2 cups Panko bread crumbs
- 1 tablespoon ground flaxseed
- 1/2 cup warm water for flaxseed gel
- 1/4 teaspoon salt for flaxseed gel
- 1/4 teaspoon pepper for flaxseed gel
- 1/2 cup vegetable oil for frying
For the chili topping
- 10 grams dried chili
- 40 grams red chili
- 10 grams Thai chillies AKA Bird's eye chilies
- 1 teaspoon salt
- 2 teaspoons sugar
- 15 grams ginger
- 10 grams garlic
- 20 grams shallot
- 1 tablespoon lime juice
- 1/2 teaspoon sesame oil
- 1/2 cup water
Instructions
For the rice balls
- Blend garlic, ginger, shallot, sugar, sesame oil and salt together till a smooth paste forms. Heat sesame oil in a deep pot and then fry your paste for a few minutes till fragrant.
- Pour rice into the pot and stir to coat with fried paste. Once rice is slightly translucent, pour water into the pot along with your vegetable stock cube. Stir, bring to a boil and then turn down to a simmer. Cover pot and cook for 15 minutes. After 15 minutes, turn heat off and leave the pot covered for a further 10 minutes.
- Immediately spoon about 2 tablespoons of rice onto a piece of cling wrap. Wrap it up and squeeze it into a ball with your hands. You want to compress the rice well so that it doesn't fall apart later. Repeat with remaining rice. I made 8 medium rice balls from the quantity of rice mentioned above. Chill the balls in the fridge for 10 minutes or so.
- Combine flour with salt in one bowl. Place Panko in another bowl and then in yet another bowl combine flax, water, salt and white pepper. Whisk to combine and let sit for 5 minutes to thicken.
- Heat oil in a pot. Dredge rice balls in flour, then coat in flax gel, and finally coat with Panko. Fry balls till they are golden all around. We rolled them around in a very shallow layer of oil instead of deep frying them. Once golden, drain on paper towels and serve on salad. Top with chilli.
For the chili topping
- Blend all ingredients together in a Nutribullet or any blender you have. I like using the Nutribullet as it's able to just store the chilli in the blender container instead of having to transfer it into a seperate jar.
Notes
Nutrition
Till next time, stay happy, stay filled!
Laura says
Amrita says
Liz says
chrysta@noshed says
Amrita @ Crazy Vegan Kitchen says
Maya @ Maya Kitchenette says
Amrita @ Crazy Vegan Kitchen says